If you have ever admired hand-stitched details on a scrapbook page and wondered how people get those perfectly even stitches, the answer is usually stitching dies.
Stitching dies -- sometimes called stitchable dies -- are metal dies that do double duty. In a single pass through your die-cutting machine, they cut the shape and punch tiny, evenly-spaced holes along the edges. Those holes are your stitching guide. Thread a needle, follow the holes, and you have a beautifully hand-stitched die cut in minutes.
This is a product line we created from scratch at Hip Kit Club. No other die company makes stitchable dies -- they are exclusive to our members.
How Stitching Dies Work
The concept is simple but the execution matters. Each stitchable die is precision-engineered with two elements:
- The cutting edge cuts your shape from cardstock, just like any metal die.
- Tiny piercing pins along the design punch perfectly spaced holes through the paper at the same time.
After cutting, you have a die-cut shape with a row of tiny holes ready for stitching. No measuring, no poking holes with an awl, no guessing at spacing.
Step-by-Step: Adding Hand-Stitched Details
- Cut your shape. Run the stitchable die through your machine with medium-weight cardstock (65-80 lb works best).
- Choose your thread. We recommend 2-3 strands of DMC embroidery floss. It comes in 500+ colors and creates clean stitches.
- Thread your needle. Use an embroidery needle with a large eye. Cut about 18 inches of thread.
- Stitch through the holes. Start from the back side. A simple running stitch (in-out-in-out) is all you need. Backstitch and cross-stitch also look great.
- Secure and attach. Secure the thread on the back with a small piece of washi tape. Adhere the finished piece to your layout with foam adhesive for dimension.
Tips for Beautiful Stitching
- Use a foam mat underneath when stitching so the needle can pass through easily.
- Match or contrast. Thread that matches your cardstock creates a subtle texture. Contrasting color makes stitching a bold design element.
- Try variegated thread. DMC makes variegated floss that shifts between colors as you stitch.
- Keep tension even. Snug but not taut -- over-tightening can warp the cardstock.
- Layer your stitched piece. Mount the die cut on a slightly larger piece of cardstock with foam adhesive for extra dimension.
Our Complete Stitchable Die Collection
13 exclusive designs with built-in stitch holes. Only at Hip Kit Club.
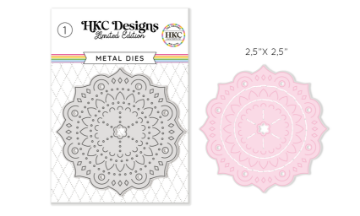 Stitchable Mandala Die
 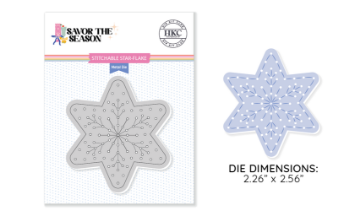 Stitchable Starflake Die
 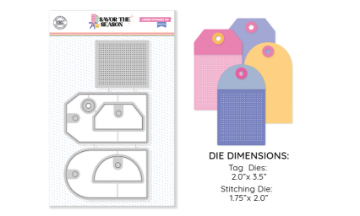 Stitchable Tag Die Set
 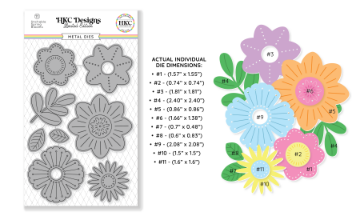 Stitchable Spring Blooms
 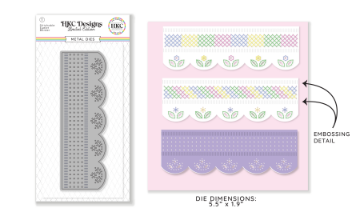 Stitchable Eyelet Die
 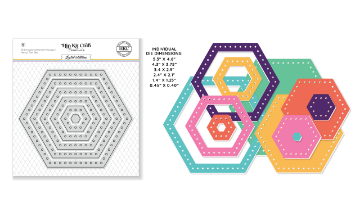 Stitchable Nested Hexagon
 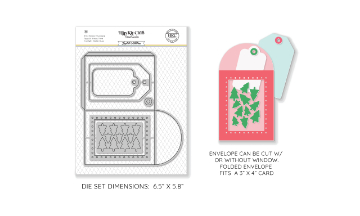 Stitchable Window Envelope
 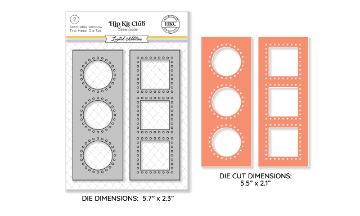 Stitchable Frame Trio
 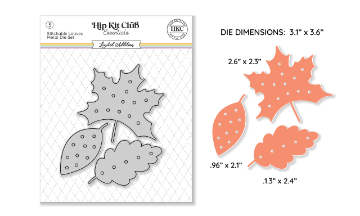 Stitchable Fall Leaves
 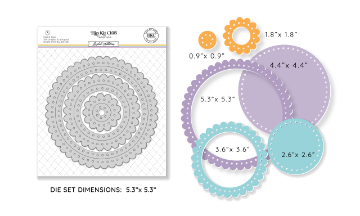 Stitchable Scallop Circle
 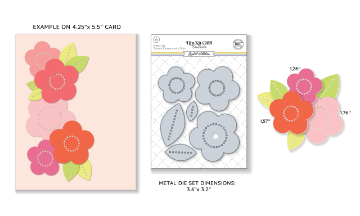 Stitchable Flowers Die
 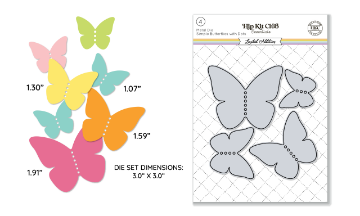 Stitchable Butterflies
 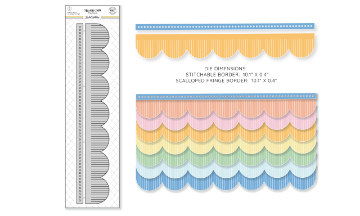 Stitchable Fringe Border
What Shapes Are Available?
- Mandalas. Intricate circular designs that look stunning with metallic thread.
- Scallop circles and hexagons. Nested sets that work as layered frames or standalone shapes.
- Spring blooms and butterflies. Botanical designs where the stitching adds organic texture.
- Fall leaves. Seasonal shapes perfect for autumn layouts.
- Tags and envelopes. Functional shapes with stitched borders for interactive page elements.
- Borders. Scalloped fringe borders with stitch holes for stitched page edges.
- Frames. Window-style frames where stitching outlines the opening.
- Starflakes. Geometric star designs for holiday and winter pages.